For WordPress users who use the WooCommerce plugin, our MyDataNinja team created a plugin that will save your time and resources. In this Blog, we will teach you how to connect your MyDataNinja plugin to your WordPress account with easy steps, trust us, it’s a piece of cake.
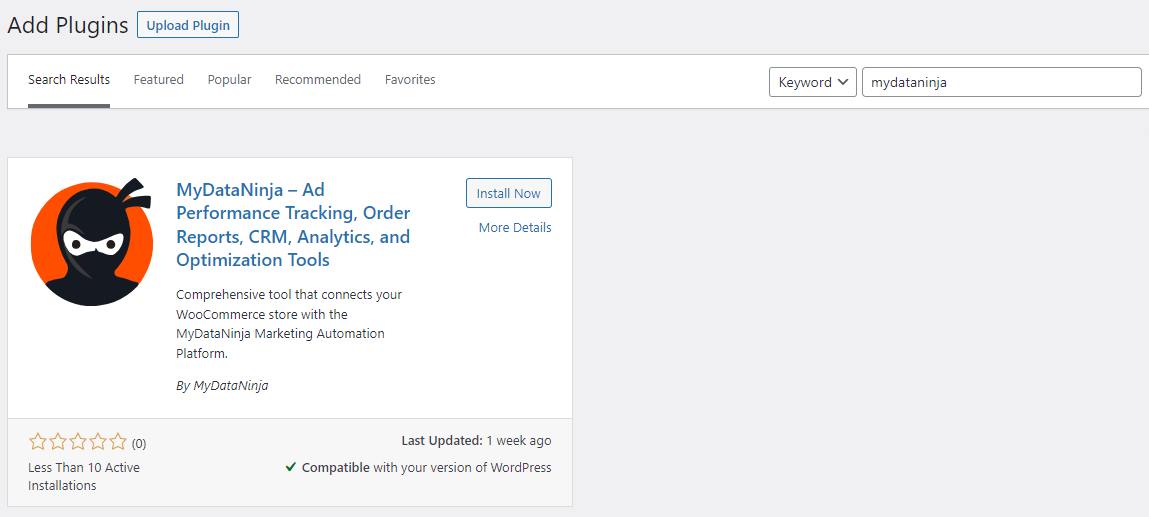
Install MyDataNinja Plugin to Your WordPress Store
First of all, log in to your MyDataNinja account. If you still need to register, go to the registration page. Now, go to your WordPress admin panel, go to plugins, and search the MydataNinja plugin, then press install. (NOTICE: Your WordPress website must have a WooCommerce plugin).
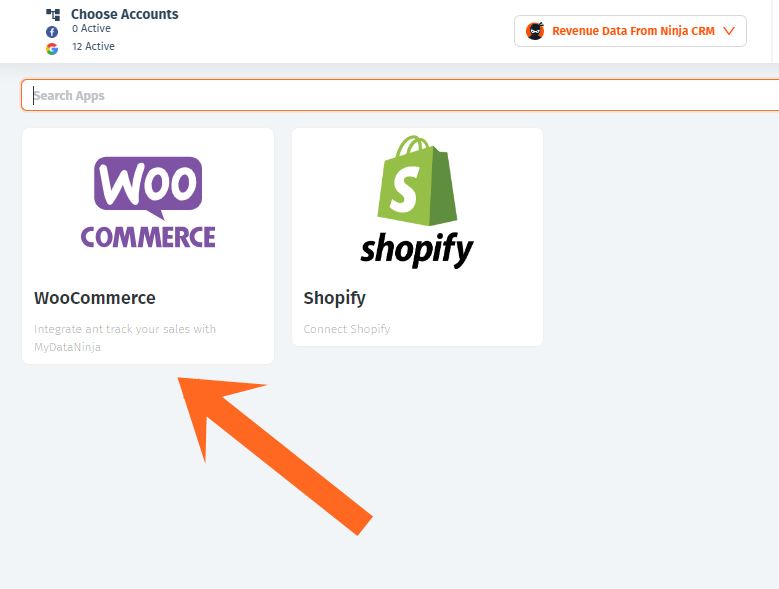
Go to Your MyDataNinja Account and Choose WooCommerce
After you log in or register, on the left side of the admin panel, you will be able to see the app’s icon, after you go to apps, click WooCommerce.
Fill Out Your Shop Details
After clicking WooCommerce, you will see a window, where you should fill out your shop information, such as:
- Your shop name: The name of your online store
- Your shop URL: The website address where your WooCommer store is located
- Currency of your shop: Specify the currency your store uses for transaction
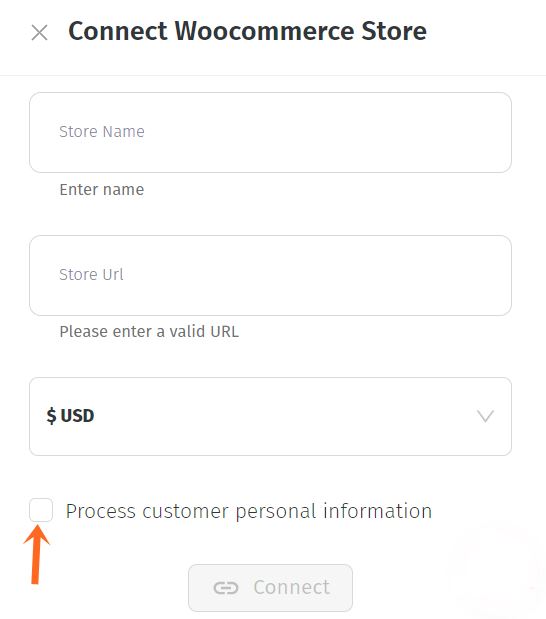
Also, there will be a “process customer personal information” square, it’s up to you if you want to check that square.
What Does This “Process Customer Personal Information” Mean?
If you check the mark, we will be able to get your customer information, such as the customer’s name, surname, email, and so on. With this information, we will be able to give you better analytics.
If you decide not to check the mark, we will not be able to get the customer’s information, resulting in worse analytics.
For more details about your data privacy, visit our privacy & policy.
CRM
Your order data will automatically be transferred to our simple CRM.
If you have complete status in your WooCommerce, it will be transferred to our CRM as complete. On the other hand, if you are using custom status in your WooCommerce, keep in mind that our CRM only uses complete status.
Also, there will be a “process customer personal information” square, it’s up to you if you want to check that square.
Revenue
MyDataNinja offers you a “cost of goods” field (shown in a picture below), this setting will add a field to every product, where you can enter the cost of the product. With this information, the MyDataNinja tool will calculate the profit per product and order.

If you are too lazy to add each product’s costs, you can use the Default Profit Margin field, which gives you the option to add the average margin for all of your products in percentages.
We also have the “Use Existing Cost of Goods” Field, if you already have the “cost of goods” and do not want to add MyDataNinja’s field, choose this setting. Keep in mind to indicate which existing field is taking care of that, so we can retrieve data from it to better analyze the revenue.
You can select a preferred revenue source out of two options, you either choose Revenue Data from Ad Networks or Revenue Data from Ninja CRM.
We can retrieve revenue data from your Meta or Google accounts, this is, if your CRM is linked to your meta and/or Google ads accounts of course.
For more information, you can read our blog about How to Set Up and Use MyDataNinja to Enhance Effectiveness and Maximize Your Digital Advertising Results.
We calculate your revenue and give you tips and tricks for better future results.
Innovative Pixel Tracking
MyDataNinja’s innovative pixel-tracking will automatically track your customer’s every step. It uses cookie-free methods to determine every movement and step of your customers leading to purchase.
MyDataNinja’s automatically generated pixels will be instantly loaded to your WooCommerce website. When MyDataNinja pixel is generated, you can load meta(pixels) and Google (g-tags) pixels to it, for easier use.
These meta and Google pixels are crucial for user tracking. After the iOS 14 update, it became a little harder to track users, so we created pixel tags. Our platform automatically generates pixel tags, with which you can track your ads and create useful data.
There is a “Include Tracker on Website” square, which is automatically checked. This is for a reason of course, without checking the mark, we will not have permission to add JS pixels to your website, resulting in us being unable to track your ads and visitors. This check is a must for MyDataNinja to work properly.

Click Connect
After you finish filling out your shop information, click the connect button, after that, you will be redirected to the MyDataNinja admin panel. Congratulations, you just added our MyDataNinja plugin to your WordPress website.
Additional Tips And Troubleshooting
- Plugin Updates: Keep your MyDataNinja and WooCommerce plugins updated for optimal performance and new features.
- Check Permissions: Ensure you have the necessary permissions to install and activate plugins in your WordPress admin panel.
- Connection Errors: If you encounter any issues during the connection process, verify that you’ve entered your shop details correctly.
Enjoy
Now you can see your advertisement ROI from your WordPress admin panel. If you want to see more information about ROI, how your advertisements are working, or any other details, we recommend trying MyDataNinja’s full potential.
If you have additional questions or any opinions, feel free to contact our support team, we work 24/7.